Dub a video
Follow the desktop dubbing pipeline from source upload through transcription, translation, casting, generation, and export.
Dub a video
Open Dub. The stepper tracks the complete local workflow: Upload → Prepare → Transcribe → Edit → Generate → Export.
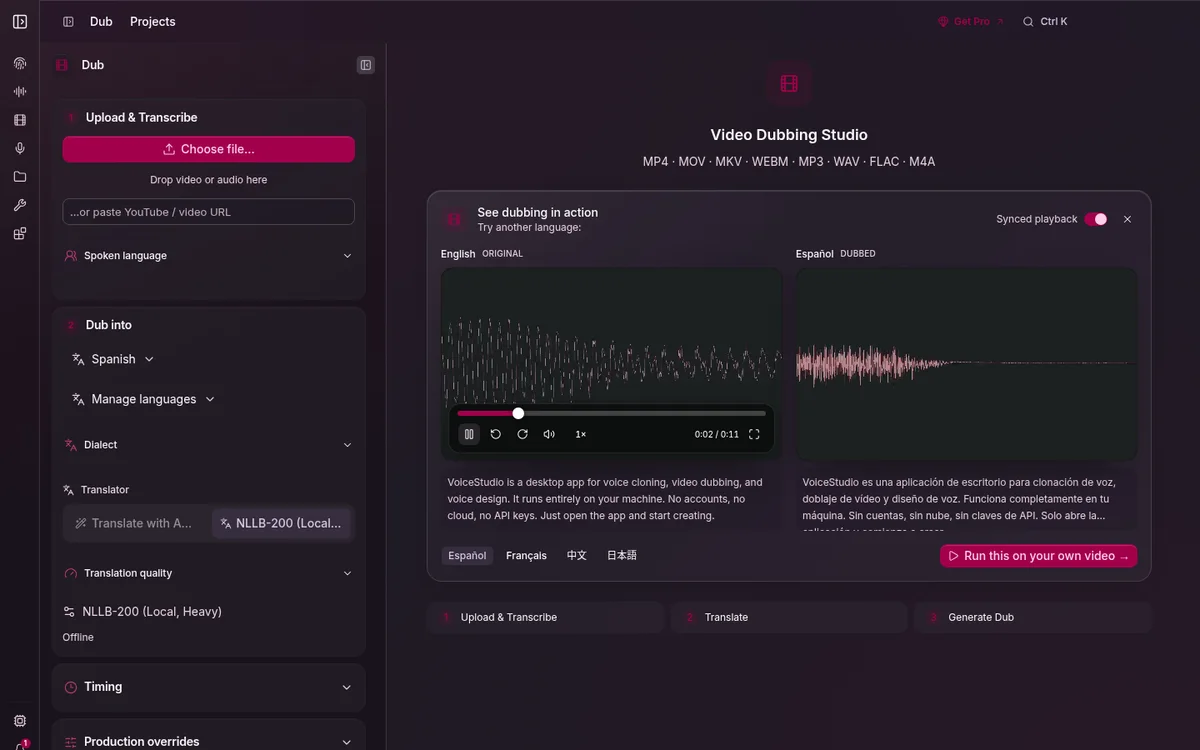
1. Upload and transcribe
Choose a local audio/video file or paste a supported media URL. Confirm the source language and expected speaker count when those controls appear, then select Upload & Transcribe.
Review the detected speakers and segment boundaries before translating. Fixing names, missing words, and false splits here prevents repeated work later.
2. Translate and cast
Choose the target language, translate all segments or edit the target text manually, then assign a saved voice to each speaker. Preview important lines to catch name pronunciation and voice mismatch early.
3. Generate and export
Select Generate Dub. Review the rendered timeline for clipped lines, overlaps, long gaps, and speaker consistency. Regenerate individual problem segments when possible instead of rerunning the entire production.
When the preview is ready, move to Export and choose the available audio or video output. Keep the project until you have checked the exported file outside VoiceStudio.
Local-first, not instant
Transcription, translation, and voice generation depend on installed engines and available memory. Long media can take time, but the desktop path does not require a VoiceStudio Cloud account.